Identifying the Source of the Leak

Pinpointing the source of a leak in your upstairs bathroom is crucial for effective repair. Leaks can stem from various components within the bathroom, and understanding the potential culprits will guide your troubleshooting process.
Visual Inspection for Leak Points
A thorough visual inspection of your upstairs bathroom is the first step in identifying the source of the leak. This involves examining the common areas where leaks often originate.
- Toilet: Check for leaks around the base of the toilet, where the toilet bowl meets the floor, or around the tank. A running toilet is a clear sign of a leak, but even subtle drips can cause damage over time.
- Shower: Examine the shower head, shower arm, and shower valve for any signs of leaks or drips. Pay attention to the caulk around the shower stall or tub, as cracks or gaps can lead to water seepage.
- Bathtub: Similar to the shower, check for leaks around the bathtub drain, overflow drain, and the caulk seal around the tub. Look for signs of water damage or discoloration around the tub, which may indicate a leak.
- Sink: Inspect the faucet, drain, and pipes beneath the sink for any signs of leaks. Check the caulk around the sink for any cracks or gaps that might allow water to escape.
- Pipes: Examine the visible pipes in your bathroom for any signs of leaks, corrosion, or damage. Pay close attention to the areas where pipes connect, as these are common points of failure.
Checklist of Potential Leak Sources and Symptoms
Here’s a checklist of common leak sources and their associated symptoms to help you identify the root cause:
| Leak Source | Symptoms |
|---|---|
| Toilet | Running toilet, dripping from the tank, leaks around the base of the toilet, wet floor around the toilet. |
| Shower | Dripping shower head, leaking shower arm, leaking shower valve, wet floor around the shower, water damage around the shower stall or tub. |
| Bathtub | Leaking bathtub drain, leaking overflow drain, wet floor around the tub, water damage around the tub, discoloration around the tub. |
| Sink | Leaking faucet, dripping from the drain, leaking pipes beneath the sink, wet floor beneath the sink, water damage around the sink. |
| Pipes | Visible leaks, dripping from pipes, water stains on the ceiling, water damage on the walls, rust or corrosion on pipes. |
Assessing the Damage: Upstairs Bathroom Leaking Through Ceiling

A leaking upstairs bathroom can cause various types of damage to the ceiling below. The severity of the damage depends on the extent of the leak, the duration of the leak, and the materials used in the ceiling construction. It is crucial to assess the damage promptly and take appropriate action to prevent further deterioration and potential health risks.
Types of Ceiling Damage
The types of damage caused by a leaking bathroom ceiling can vary depending on the severity and duration of the leak. Some common types of damage include:
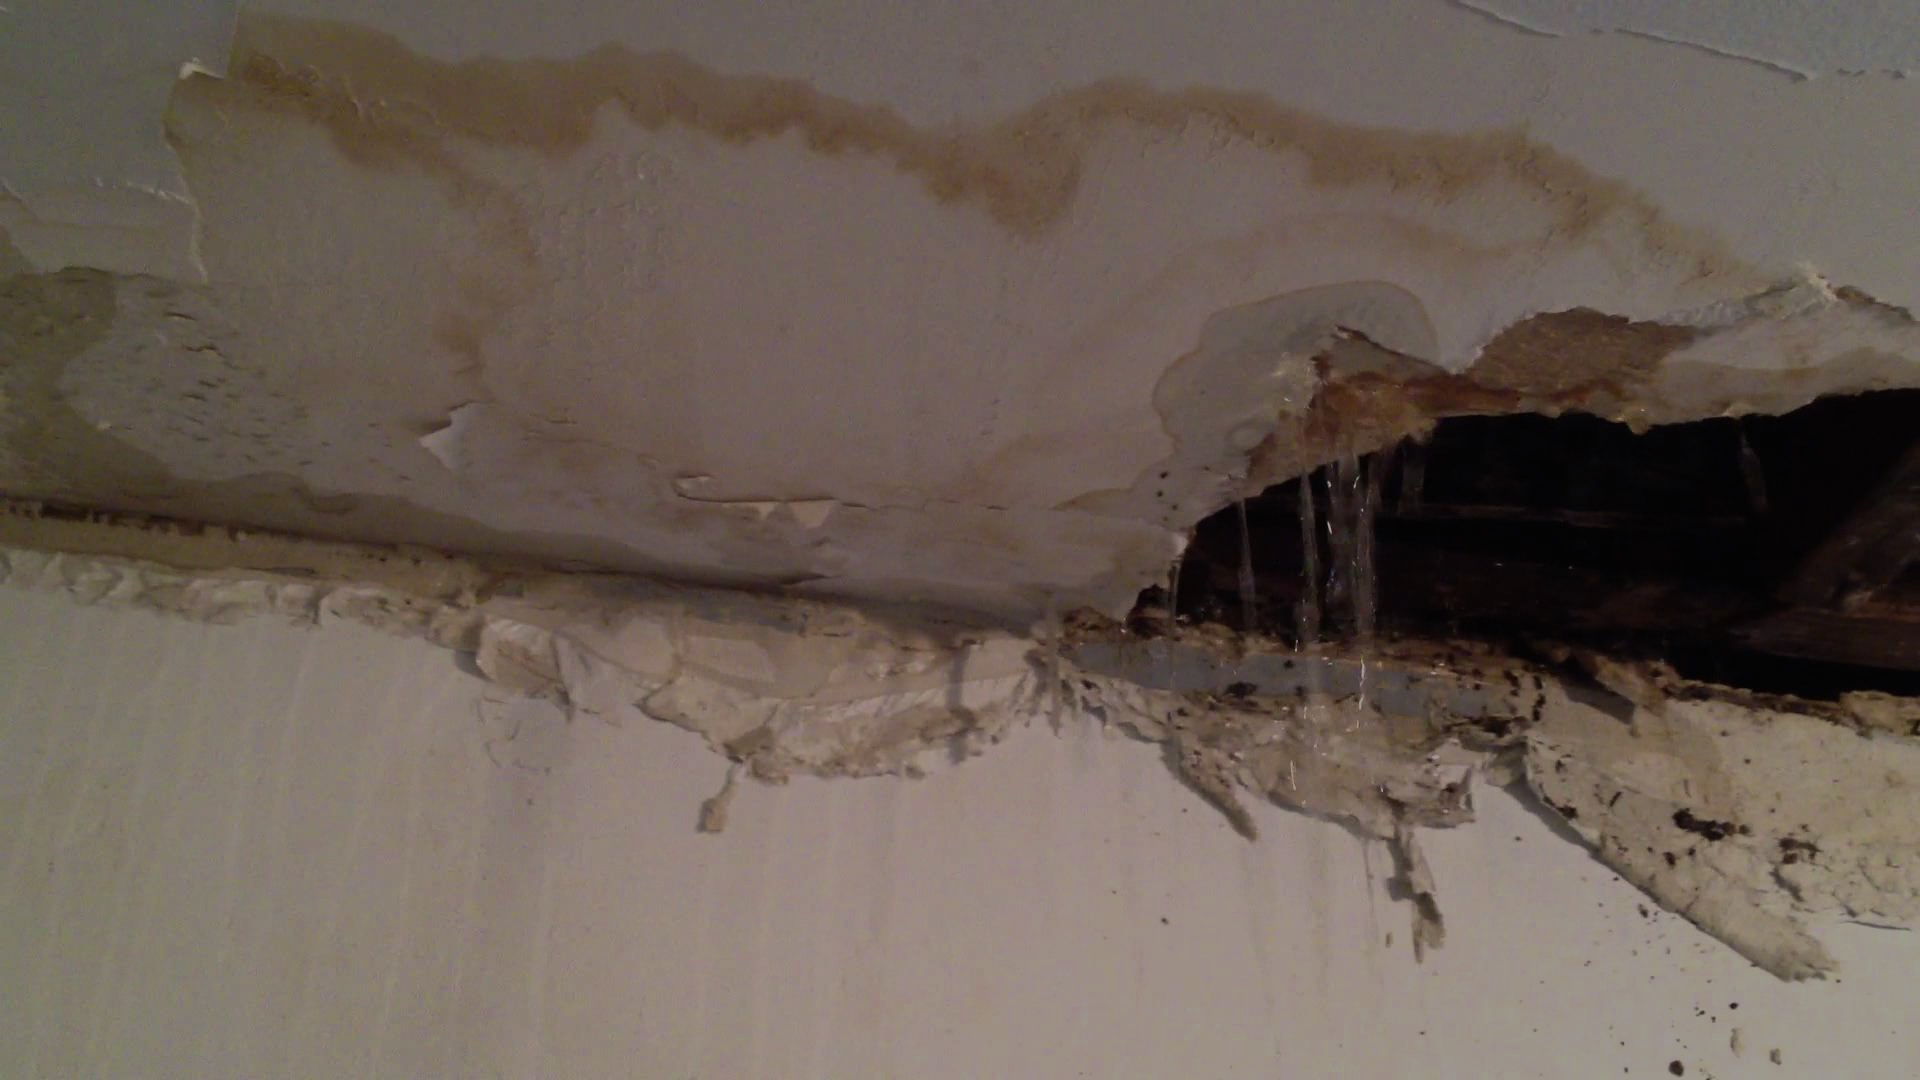
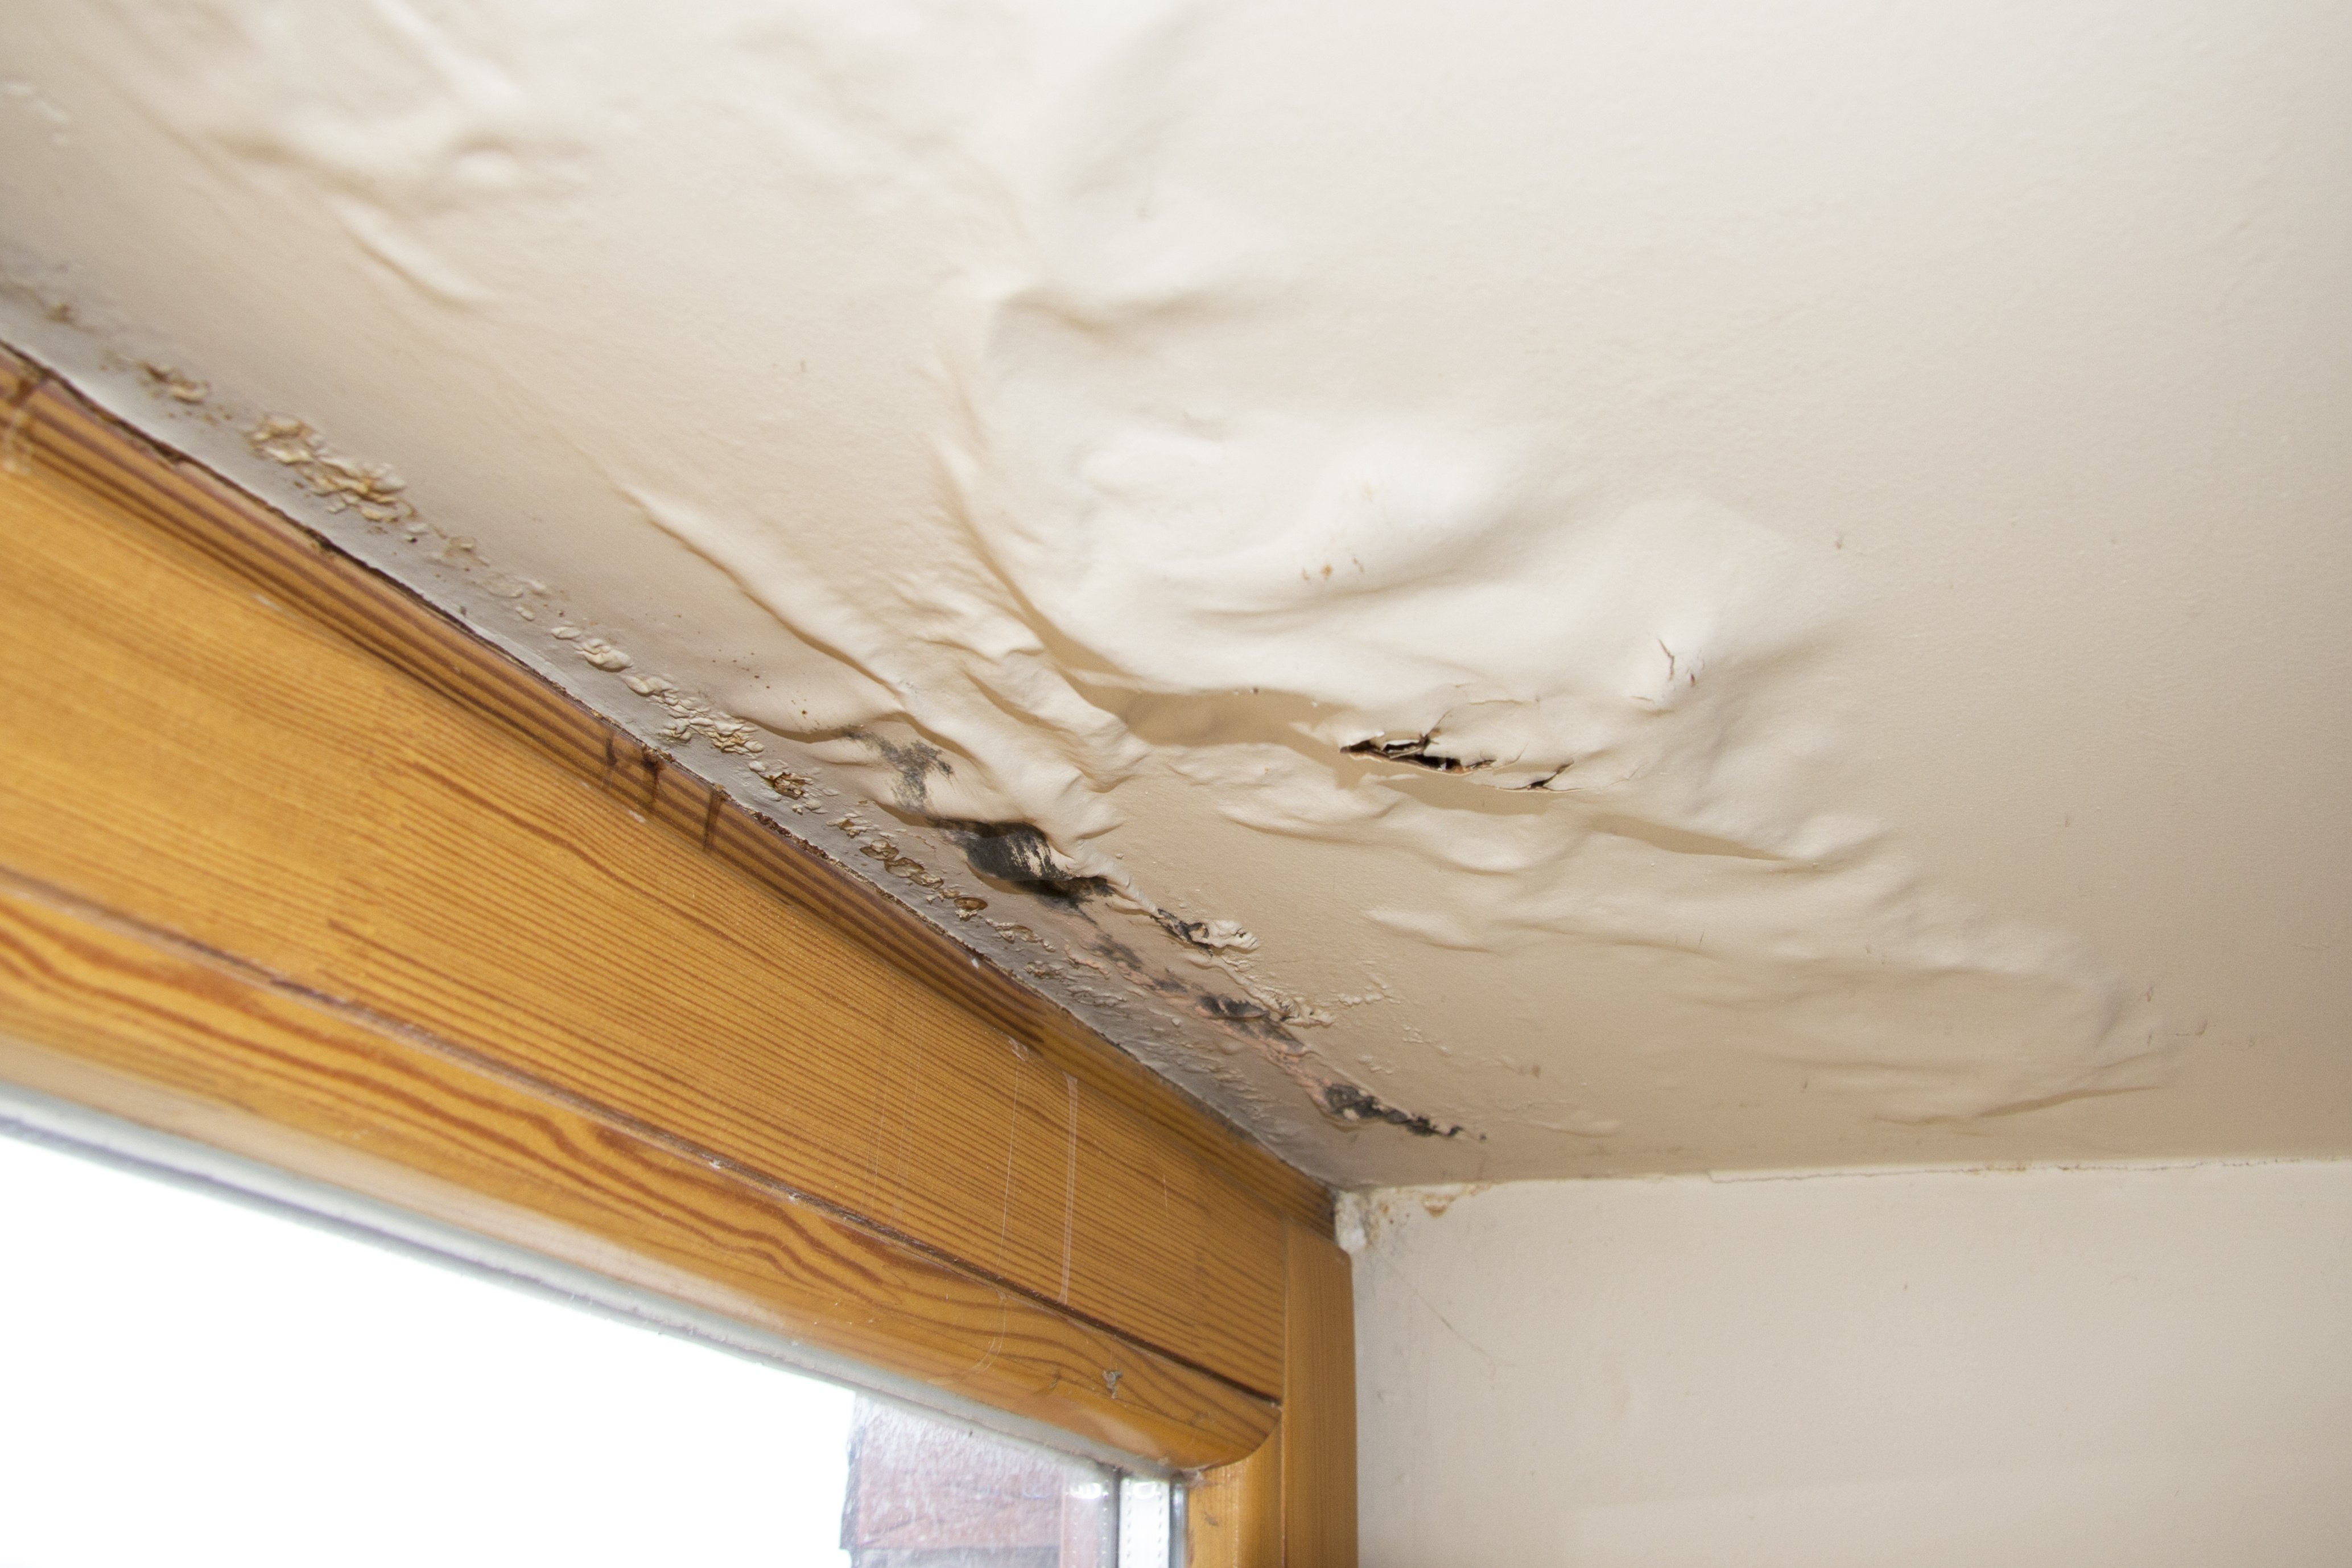
- Water Stains: These are the most common sign of a leak. Water stains appear as dark or discolored patches on the ceiling, indicating that water has seeped through the surface. They can be caused by a slow leak that has been present for some time. The stains may fade over time, but the damage to the ceiling remains.
- Mold Growth: If the leak is not addressed promptly, the dampness can create a breeding ground for mold. Mold can grow in dark, moist areas and can cause various health problems. It appears as black, green, or white patches on the ceiling and can also release spores into the air.
- Structural Damage: Prolonged leaks can weaken the ceiling structure, leading to sagging or even collapse. Water can damage the drywall, insulation, and framing, compromising the structural integrity of the ceiling.
Health Risks Associated with Water Damage and Mold Growth
Water damage and mold growth can pose serious health risks, particularly for individuals with respiratory problems or allergies. Some potential health risks include:
- Respiratory problems: Mold spores can trigger allergies and asthma, leading to coughing, wheezing, and difficulty breathing.
- Skin irritation: Contact with mold can cause skin irritation, rashes, and itching.
- Eye irritation: Mold spores can irritate the eyes, causing redness, itching, and watering.
- Neurological problems: Some molds can produce toxins that can affect the nervous system, leading to headaches, dizziness, and memory problems.
Severity of Water Damage
The severity of water damage can be assessed based on the extent of the leak and the duration of the leak. The following table provides a general guideline for classifying the severity of water damage:
| Severity | Extent of Leak | Duration of Leak |
|---|---|---|
| Minor | Small, localized leak | Short duration (a few hours or days) |
| Moderate | Larger leak, affecting a wider area | Medium duration (a few days to a week) |
| Severe | Major leak, affecting a large area | Long duration (several weeks or months) |
Repairing the Leak and Damage

Once you have successfully identified the source of the leak and assessed the damage, it’s time to address the problem. This involves stopping the leak, repairing the damaged ceiling, and taking steps to prevent future occurrences.
Repairing the Leak
Repairing the leak requires a systematic approach to ensure a permanent solution. Depending on the source, you may need to replace faulty plumbing fixtures, repair pipes, or seal cracks in the plumbing system.
- Fixing Faulty Fixtures: Leaky faucets, showerheads, or toilets are common culprits. Replace worn-out washers, O-rings, or other components.
- Repairing Pipes: Leaky pipes can be due to corrosion, cracks, or loose connections. Depending on the severity, you may need to replace sections of pipe, tighten connections, or apply a sealant.
- Sealing Cracks: Cracks in the plumbing system can allow water to leak. Use a sealant specifically designed for plumbing repairs to seal the cracks effectively.
Repairing the Damaged Ceiling, Upstairs bathroom leaking through ceiling
Once the leak is stopped, it’s time to repair the damaged ceiling. This involves removing the damaged drywall, replacing it with new drywall, and painting the ceiling to match the existing finish.
- Removing Damaged Drywall: Carefully remove the damaged drywall, ensuring you remove all affected areas to prevent future problems.
- Replacing Damaged Drywall: Install new drywall to replace the removed section. Secure it properly using screws or nails.
- Applying Joint Compound: Apply joint compound to the seams and screw heads to create a smooth surface.
- Sanding and Painting: Sand the joint compound to achieve a smooth finish and then paint the ceiling to match the existing color.
Preventing Future Leaks
Regular maintenance checks and preventative measures can significantly reduce the risk of future leaks.
- Regular Inspections: Conduct periodic inspections of your plumbing system to identify any potential issues before they become major problems.
- Professional Maintenance: Schedule regular maintenance checks with a qualified plumber to ensure your plumbing system is in good working order.
- Water Pressure Regulation: Ensure your water pressure is within the recommended range to prevent excessive strain on your plumbing system.
- Insulating Pipes: Insulate pipes in areas prone to freezing temperatures to prevent damage from freezing water.
Professional Services
Several professional services can assist with leak detection, repair, and water damage restoration.
- Plumbers: Plumbers specialize in identifying and repairing plumbing leaks. They can also provide preventative maintenance services.
- Water Damage Restoration Companies: Water damage restoration companies specialize in cleaning up water damage, drying affected areas, and restoring damaged property.
- Mold Remediation Specialists: Mold remediation specialists can remove mold growth that may develop after a leak.
